Your Family Recipes Deserve Better Than a Junk Drawer: Inside the Wooden Recipe Box Comeback
Somewhere in your kitchen there is a recipe you love and cannot find. Maybe it is your grandmother’s lentil soup, written in blue ink on a card that has gone soft at the edges. Maybe it is the cake you made once, perfectly, and then never again because the printout vanished into a drawer full of takeaway menus and dead batteries. I have been there, and it is a small, annoying heartbreak every single time.
That is exactly why the humble wooden recipe box is having a comeback. It is not fancy tech. It does not need charging, updates, or a password you forgot three phones ago. It is a solid little box that keeps your best food in one place, in your own handwriting, where you can actually find it when the onions are already sizzling.
The real problem is not cooking, it is finding the recipe
Most of us do not struggle with cooking. We struggle with the mess around cooking. Recipes live in five places at once: screenshots on a phone, bookmarks in a browser, a notebook with pages stuck together, printouts folded into a cookbook, and one very confident memory that turns out to be wrong about the oven temperature.
Then dinner gets stressful in a way it should not be. You are scrolling with floury hands. The phone screen locks. The sauce thickens while you search for the word “simmer” in a blog post that is mostly life story. A wooden recipe box solves the boring part of this problem, which is also the most important part: everything is in one box, sorted, and standing up where you can read it.
There is a second problem, quieter but bigger. Family recipes disappear. When a recipe only exists as a screenshot or a memory, it dies with a phone upgrade or a busy year. A card in a box gets passed down. My favorite cards are not even neat. They have butter stains and notes in the margins like “add more garlic, trust me” and “Ayesha liked this one, make double next time.” Those notes are the recipe, really.
What makes a good wooden recipe box
Not every wooden box is a good recipe box, and the difference shows up fast. Before you buy anything, check these five things.
1. It fits the cards you actually use
The standard recipe card is 4 inches by 6 inches. That is the size most boxes, dividers, and printable cards are made for. Some boxes also take 3 by 5 or 5 by 7 cards, which is handy if you already have a collection, but 4 by 6 is the safe default. If a box is too shallow, cards bend. If it is too deep, they flop over and you cannot read the front one.
2. The lid holds a card upright
This is the feature people forget and then miss every day. A good box has a groove or slot in the lid, or a hinged lid that props a card up at a readable angle while you cook. Without it, you are back to leaning a card against the oil bottle and watching it slide into the sink.
3. Dividers you can actually read
Six to eight dividers are plenty for most kitchens: breakfast, soups and salads, mains, sides, baking, desserts, drinks, and one called “family favorites” for the recipes you reach for without thinking. Wooden dividers last longer than paper tabs, and engraved labels do not smudge when your hands are damp.
4. Solid wood, not a box that smells like a craft store
Acacia, walnut, and bamboo are the woods you see most often, and for good reason. Acacia is hard, warm toned, and shows a different grain pattern on every box, so no two look identical. Walnut is darker and more formal. Bamboo is lighter and cheaper, but it can feel less like a keepsake. Whatever you pick, the inside should be smooth, with no rough edges that catch cards.
5. A size that lives on the counter, not in a cupboard
A box around 7 inches long, 6 inches wide, and 5 inches tall fits a proper stack of cards and still sits neatly beside the stove or on a shelf. If it has to live in a high cupboard, you will stop using it. The whole point is that it is within arm’s reach at 6 pm on a Tuesday.
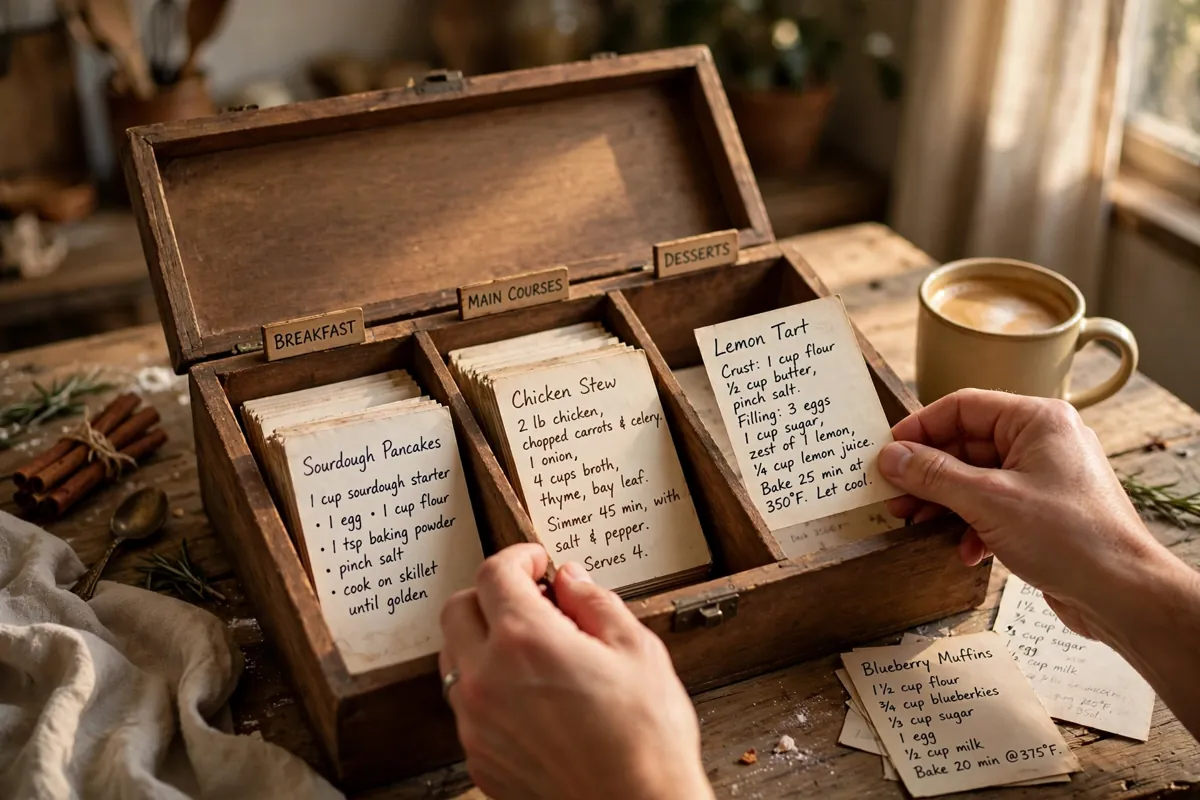
The acacia box worth looking at first
If you want one concrete example instead of a vague shopping list, start with the personalized acacia wood recipe box that is doing the rounds on Etsy right now. It is made from durable acacia hardwood, with a mountain landscape laser engraved on the lid and space for your family name or a short line of your own wording. The hinged lid has a built in slot that holds a recipe card upright while you cook, and inside there is a divider to keep sections apart. It measures 7 inches long, 6 inches wide, and 5.25 inches tall, and it is made for standard 4 by 6 inch cards.
Two honest notes before you fall in love with it. First, recipe cards are not included with that particular box, so budget a few dollars for a pack of blank 4 by 6 cards or print your own. Second, the price of a personalized, engraved box like this sits above a plain starter box, because someone is actually cutting and finishing it for you. If you want cards included from the start, there are complete sets on Etsy with a box, dividers, and cards for around 21 dollars on sale, down from 42 dollars, which is a gentler way to test whether the system suits you.
For a sense of scale, a similar solid wood organizer from DRASTAR comes with 50 blank double sided 4 by 6 cards and 6 preprinted dividers, measures 6.9 by 5.3 by 4.7 inches, and can hold up to 300 cards. It carries a 4.7 star rating from 426 reviews. That tells you the format works. The acacia box is the prettier, more personal version of the same idea, and the one you are more likely to keep for twenty years.
How to set up your box in one afternoon
Do not try to copy every recipe you own on day one. That is how the box ends up empty and the project ends up abandoned. Do this instead.
Step 1: Pick your twenty. Write down the twenty recipes you actually cook, the ones friends ask for, the ones that fix a bad day. Those go in first. Everything else can wait.
Step 2: Sort before you write. Put sticky notes on a pile of existing cards and printouts, sorted into your divider sections. You will spot duplicates immediately, and you will spot the three versions of the same curry that are all slightly wrong.
Step 3: Write the card like a tired person will read it. Put the recipe name, the pan size, the oven temperature, and the total time at the top, in that order. Then ingredients in the order you use them, then steps in short lines. Add one line at the bottom for the note that matters: “needs more salt,” “kids pick out the mushrooms,” “double the sauce.”
Step 4: Test one card the same week. Cook from it, pen in hand, and fix anything that confused you. A recipe box that has never been cooked from is decoration. A recipe box with pencil corrections is a kitchen tool.
Step 5: Keep a “to try” section at the back. New recipes go there, not in the main sections. If you cook one twice and love it, it earns a permanent divider. If not, it leaves without guilt.
What to write on the cards that actually helps
The best recipe cards I have seen are not beautiful. They are useful. They say things like “use the big pot, it boils over in the small one” and “start rice first, it takes longer than you think.” They name the shop where you found the good spice mix. They say who taught you the dish and when, because in ten years that line will matter more than the ingredient list.
If you are copying a family recipe, write it exactly as it was told to you first, then add your own version underneath. “Ammi’s version” and “my version” can live on the same card without arguing. That is the whole charm of it. And if a recipe came from a phone, print it, stick it on a card, and write the source on the back. A box full of anonymous printouts is just a prettier junk drawer.
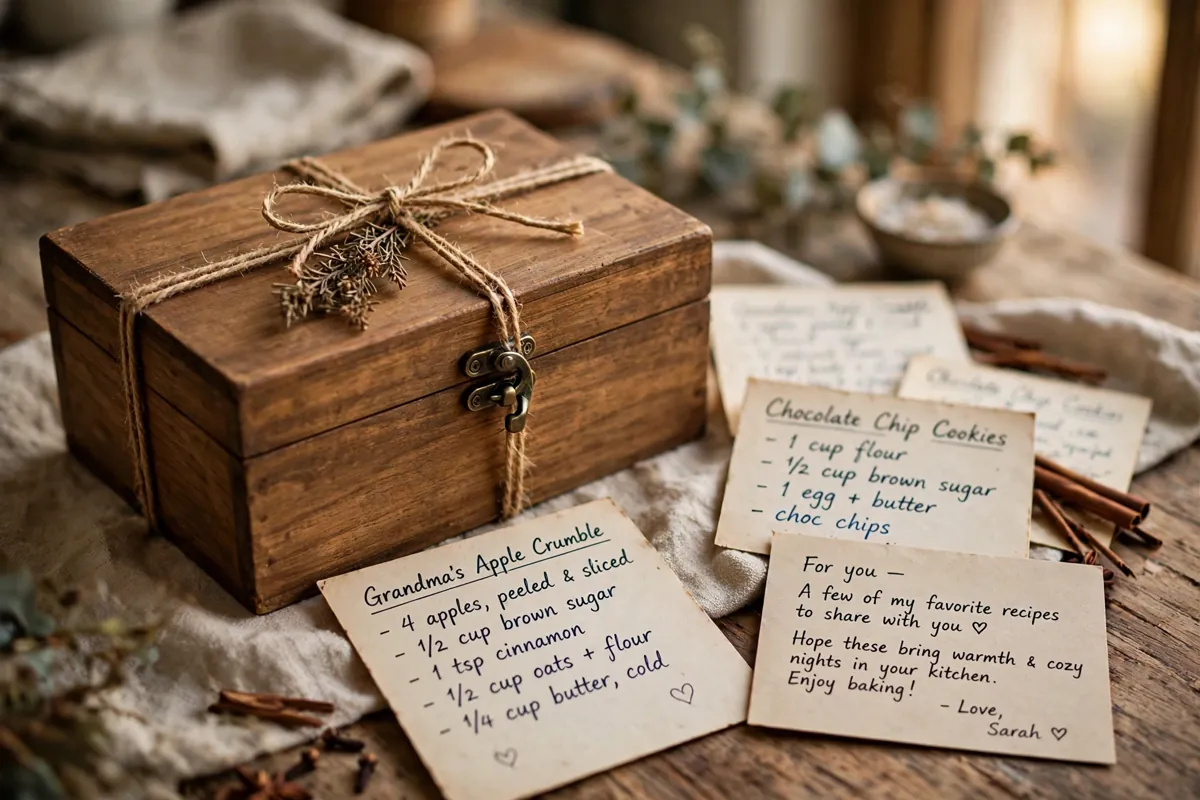
The gift angle is real, and it is not just marketing
A wooden recipe box is one of the few gifts that gets better the more thought you put into it. A blank box is nice. A box with ten of your own recipes already written inside it is a different thing entirely. Brides, new homeowners, and new parents all get a lot of stuff they will never use. A box that says “here is what our family actually eats” gets used on the first week.
If you are giving one, write at least five cards yourself before you wrap it, and leave the rest blank. Add a note on the first divider: “add yours as you go.” If you are receiving one, do not keep it pristine. The first stain is the moment it becomes yours.
For related wooden kitchen ideas, see our guides to handmade wood and epoxy resin coasters and the handmade wooden cookbook stand, and for a different kind of hand carved decor, our look at hand carved wooden chain link decor.
Care, and what to avoid
Wood and kitchens get along fine if you follow two rules. Keep the box away from direct steam and splashing water, and wipe it with a dry or barely damp cloth, never soaked. Once or twice a year, rub in a little food safe wood oil or beeswax balm if the maker recommends it, and let it dry before the cards go back in. Do not store the box right above the stove, where heat and steam will warp the lid over time.
Avoid boxes with a strong chemical smell, rough interiors, or lids that do not close flat. Avoid buying a box that is too small for 4 by 6 cards just because it looks cute in the photo. And avoid the trap of buying a second box before the first one is full. One full box beats three pretty, empty ones.
So, is it worth it?
Honestly, yes, if you cook more than twice a week and you have even a handful of recipes you would hate to lose. A wooden recipe box will not make you a better cook. It will make you a calmer one, because the recipe will be where you left it, in a handwriting you trust, with a note that says “add more garlic, trust me.” That is a small thing. It is also the difference between cooking dinner and dreading it.
Start with your twenty recipes, a pack of 4 by 6 cards, and a box you actually like looking at. Put it where you cook, not where you store things. Then cook from it this week, and fix the first card with a pencil. That is the whole system, and it has worked for longer than any app in your phone has existed.
Found this useful? Pin it for later, and read the full story on thecavee.com. If you have a family recipe that deserves a card of its own, write it down tonight, before the phone you saved it on gets replaced. Future you, standing in a warm kitchen with flour on your hands, will be grateful.